
Cooking Tips for Perfect Layers
To ensure each layer of your Jello dessert cups sets perfectly, patience is key. After preparing each layer, allow it to set in the fridge for at least 30 minutes before adding the next layer. The gelatin needs to be firm enough to support the weight of the next layer without mixing. If you notice some layers are not setting as quickly as others, try using colder water when preparing the gelatin mixture. This can help speed up the setting process. Also, for a smoother finish, pour the next layer slowly over the back of a spoon to prevent it from disturbing the layer below. If you want to add a bit of flair, consider mixing in some fruit pieces or whipped cream between layers, but make sure they are small and light so they don’t weigh down the gelatin.
Storage Instructions and Variations
These Jello dessert cups can be stored in the refrigerator for up to five days, making them a great make-ahead option for parties or gatherings. Just keep them covered to prevent them from absorbing any odors from the fridge. If you want to change things up, consider using different flavors of gelatin for each layer. Mixing flavors like strawberry, lime, and blue raspberry not only adds a fun twist but also creates a beautiful visual effect. For a creamier version, consider adding layers of vanilla pudding or yogurt between the gelatin layers. This adds a nice contrast in texture and flavor. If you’re feeling adventurous, try incorporating some crushed cookies or graham crackers in between layers for added crunch. The possibilities are endless, so feel free to get creative!
Frequently Asked Questions
Can I use different flavors of gelatin?
For sure! You can mix and match any flavors you like. Just remember to stick to the same amount for each layer to keep things balanced.
How long can I store these Jello dessert cups?
These dessert cups can hang out in the fridge for up to a week. Just make sure they’re covered to keep them fresh and prevent any fridge odors from sneaking in.
What if my layers aren’t setting properly?
If layers are being stubborn, try using colder water for your gelatin mixture. Also, make sure you’re giving each layer at least 30 minutes in the fridge before adding the next one.
Can I add fruit or whipped cream in between layers?
Absolutely! Just make sure that any fruit is chopped small and light so it won’t weigh down the gelatin. Whipped cream works great too for a little extra creaminess.
How do I make these ahead of time for a party?
You can prepare these Jello dessert cups a day or two in advance. Just keep them chilled in the fridge until you’re ready to serve, and they will be the perfect colorful treat for your guests.

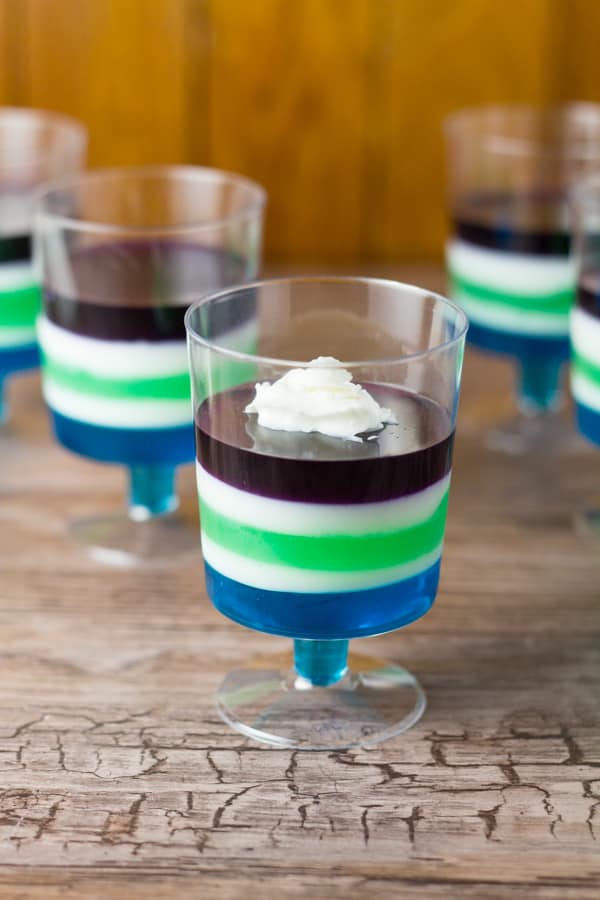
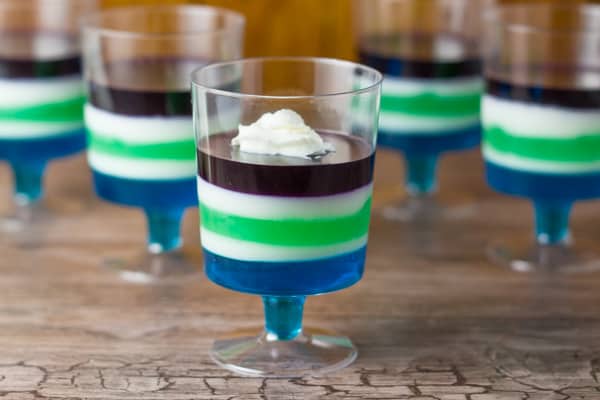
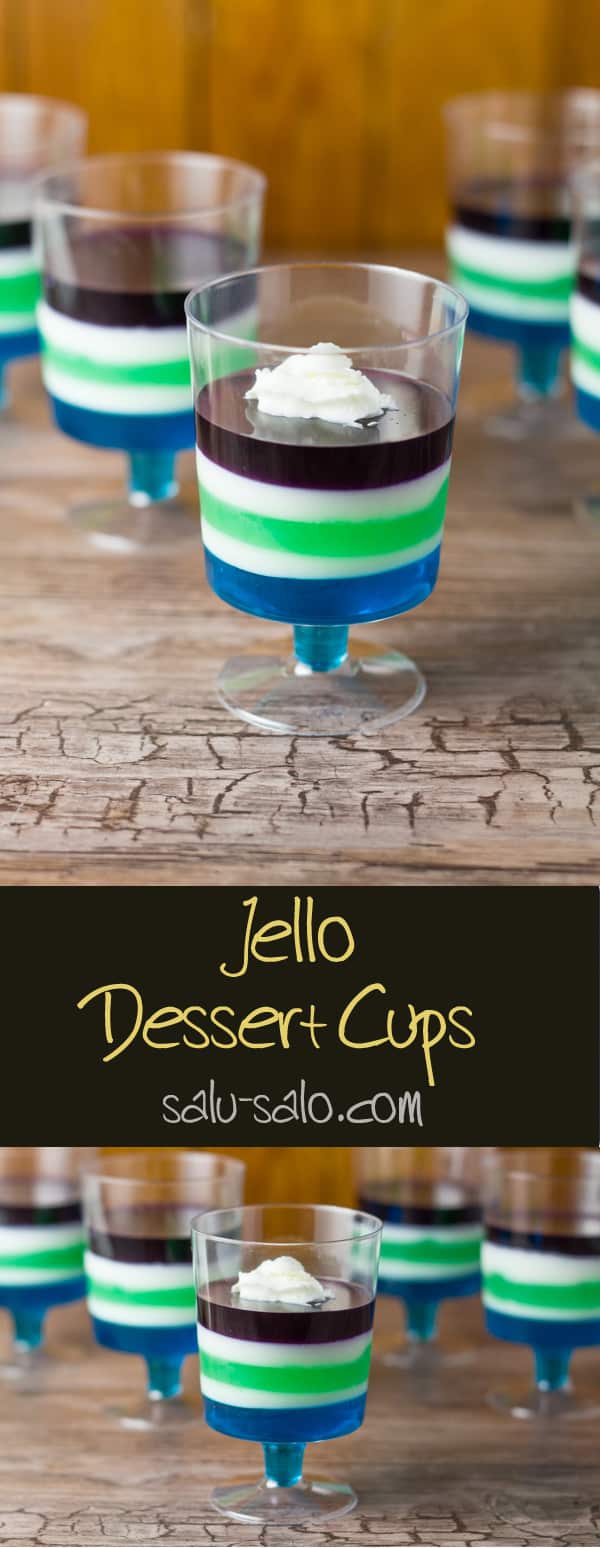
Jello Dessert Cups
Ingredients
- 3 (3 oz.) packages of different JELL-O Flavor Gelatin
- 4 cups boiling water, divided
- 5 tsp Knox unflavored gelatin, divided
- ½ cup sweetened condensed milk
Instructions
- First layer: Dissolve one package of any flavor jello and 1 teaspoon Knox gelatin in 1 cup of boiling water. Stir until the powder completely dissolves. Allow the mixture to cool and then pour 2 tablespoons of the mixture into each of the 12 (125 ml) dessert cups. Allow to set in the fridge for 30 minutes. Meanwhile, make the next layer and leave on the counter to cool.
- Second layer: Dissolve two teaspoons of Knox gelatin powder in ½ cup hot water. Add the condensed milk and additional ½ cup hot water. Let cool and then pour 1 tablespoon of the mixture over the set jello in each 12 dessert cups. Allow to set in the fridge for 20 minutes. Set aside the left-over milk mixture for later use and proceed to make the next layer.
- Third layer: Repeat step 1.
- Fourth layer: If the milk mixture starts to solidify, heat it up in the microwave for 25 seconds or until it turns into liquid again. Let cool slightly and then pour 1 tablespoon over the set jello in each of the 12 dessert cups. Allow to set in the fridge for 20 minutes and then proceed to make the last layer.
- Fifth layer: repeat step 1 and then refrigerate for 2 hours or overnight.
Notes
Nutrition
Leave a Reply