

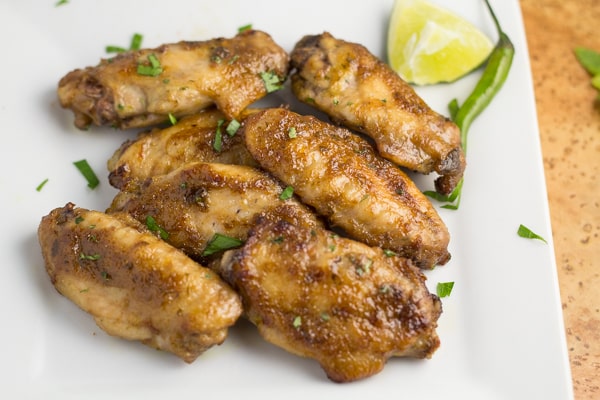
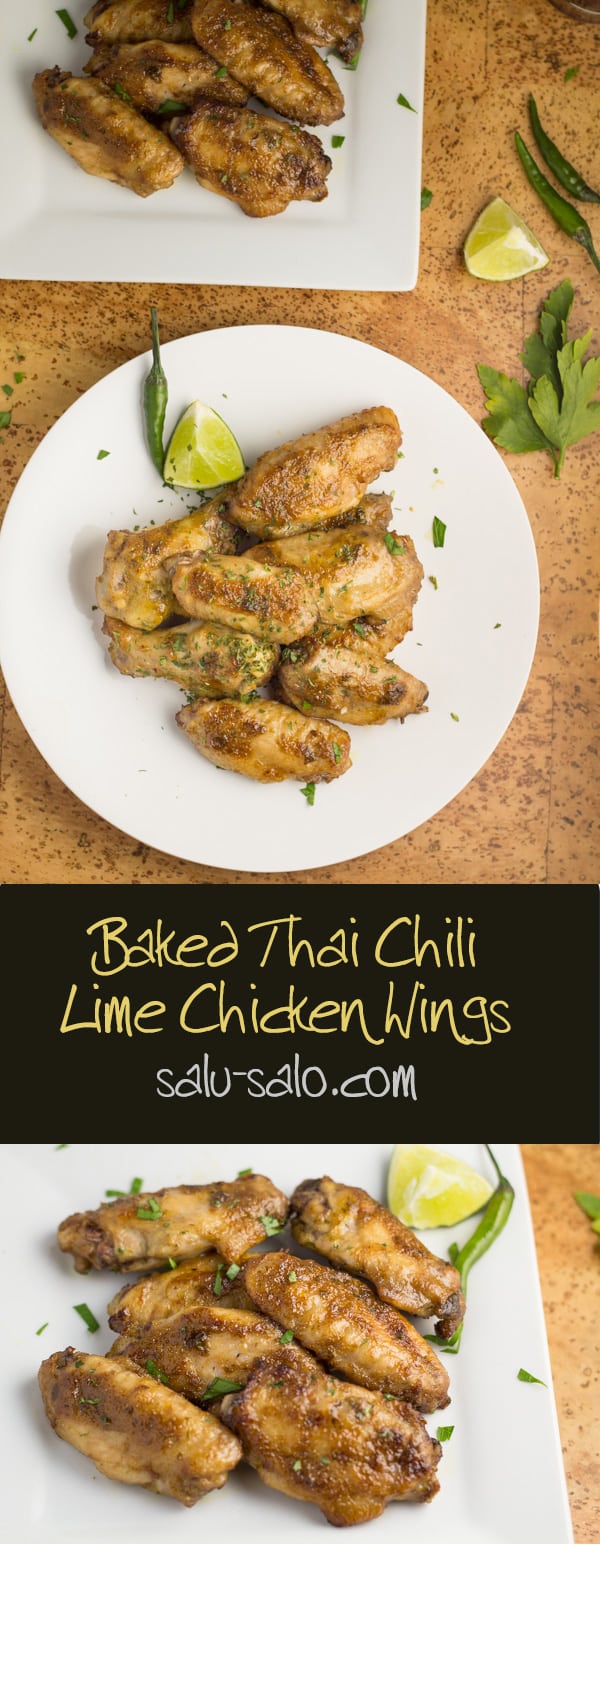
First, the marinade is prepared in the blender by processing the chilies, lime, spices and oil together. After allowing the chicken to marinate for at least one hour, the chicken wings are simply baked in the oven for a total of 30 minutes. I love making baked chicken wings because they so good and the clean up is always a breeze. Enjoy!
Cooking Tips for Perfect Wings
To get the best results with your Thai chili lime chicken wings, it’s essential to choose the right chicken. Look for fresh, organic wings if possible. They tend to have better flavor and texture than frozen ones. If you do use frozen wings, make sure to properly thaw them before marinating. This will help the flavors penetrate the meat. Marinating for more than an hour is also beneficial. If you have the time, let them sit overnight in the fridge. This allows the spices to work their magic. When baking, consider using a wire rack set over a baking sheet. This promotes even cooking and helps the skin get crispy all around. Keep an eye on the wings during the last few minutes of baking. If you want extra crispiness, you can broil them briefly. Just stay close to avoid burning. Lastly, let the wings rest for a few minutes after baking. This helps the juices redistribute, making them even juicier.
Serving Suggestions and Pairings
These Thai chili lime chicken wings are packed with flavor, making them a great centerpiece for any gathering. Pair them with a refreshing cucumber salad to balance the spiciness. The crunch of the cucumber and the acidity from the vinegar will complement the wings perfectly. For a dipping sauce, consider a simple yogurt sauce mixed with lime juice and a pinch of salt. It cools down the heat and adds a creamy texture that enhances the overall experience. If you’re hosting a party, serve the wings alongside other appetizers like spring rolls or Thai-style meatballs for a complete menu. Don’t forget about drinks. A light lager or a citrusy IPA pairs well with the wings. If you prefer non-alcoholic options, try a sparkling water with a splash of lime or a homemade lemonade to keep things refreshing. These wings also make for a great game day snack, so have plenty on hand to satisfy your guests.
Frequently Asked Questions
What can I use instead of Thai chilies?
If you can’t find Thai chilies, jalapeños or serranos can work as a substitute. They will still give you some heat, but adjust the amount based on your spice tolerance.
How should I store leftover wings?
Store any leftover wings in an airtight container in the fridge for up to three days. Reheat them in the oven to keep them crispy, rather than using the microwave.
Can I make these wings ahead of time?
You can prepare the marinade and marinate the chicken wings the night before. Just bake them fresh when you’re ready to serve for the best flavor and texture.
What are some good side dishes to serve with these wings?
These wings pair nicely with a fresh cucumber salad or some sticky rice. You could also serve them with a dipping sauce like sweet chili sauce for an extra kick.
What common mistakes should I avoid?
A common mistake is not marinating long enough. Giving the wings more time to soak in the marinade will enhance the flavor, so aim for at least an hour or even overnight if you can.

Thai Chili Lime Chicken Wings
Ingredients
- 2 lbs chicken wings and/or drumettes
- Salt and pepper to taste
Marinade
- 2 green or red Thai chilies stems removed
- 1/4 cup vegetable oil
- 2 tbsp soy sauce
- 1 tsp garlic powder
- 1 tsp cumin
- Juice of 1 lime
- 2 tbsp fresh chopped parsley
Instructions
- Add all the marinade ingredients into a blender. Blend until smooth.
- Place the chicken wings in a large bowl or large freezer bag. Pour in the marinade.
- Marinate the chicken in the fridge for at least 1 hour, up to overnight.
- Preheat the oven to 400°F.
- Line a baking sheet with aluminum foil and place a cooling rack on top of the baking sheet.
- Place the wings on the rack. Bake for 15 minutes.
- Increase the oven to 425°F. Turn the wings over and return the wings to the oven for another 15 minutes, or until browned.
- Season with salt and pepper to taste and enjoy!
Notes
Nutrition
Leave a Reply